Setup
Install Pi-Star for Raspberry Pi
1. Transfer this image to a micro SD card (at least 8 GB)
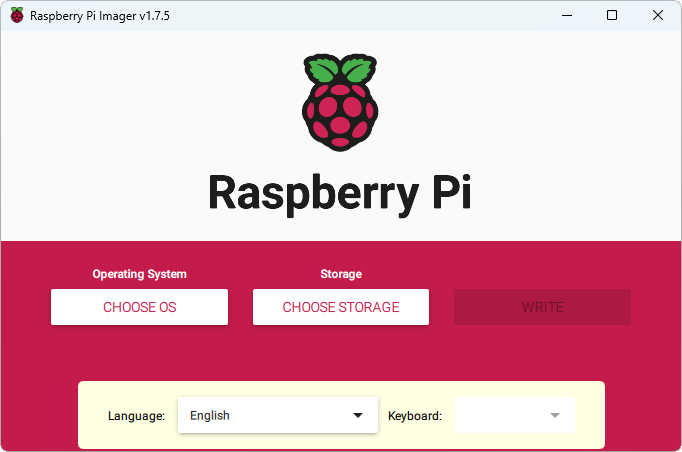
2. Install the Raspberry Pi Imager
3. Start the software
4. Click on 'Choose OS'.
5. Click on 'Use custom'.
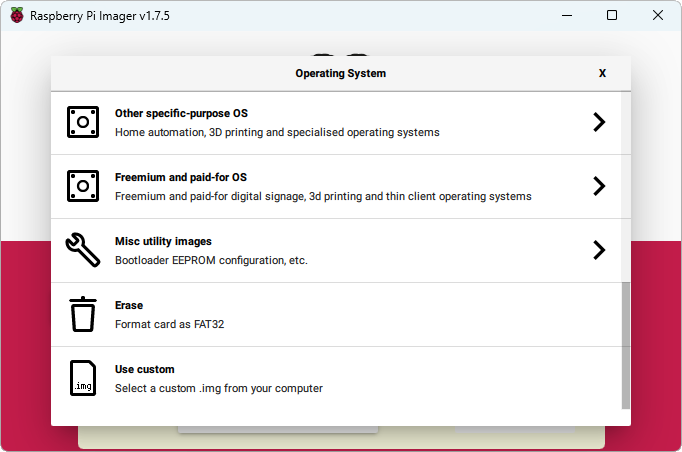
6. Select the ZIP file (be careful not to unzip it!) Older operating systems require a pure image file (*.img), as proprietary zip files are not actually supported.
Then the image file must of course be unzipped.
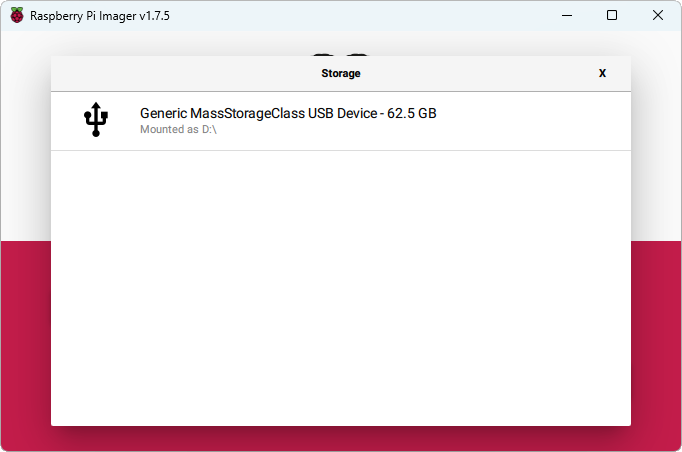
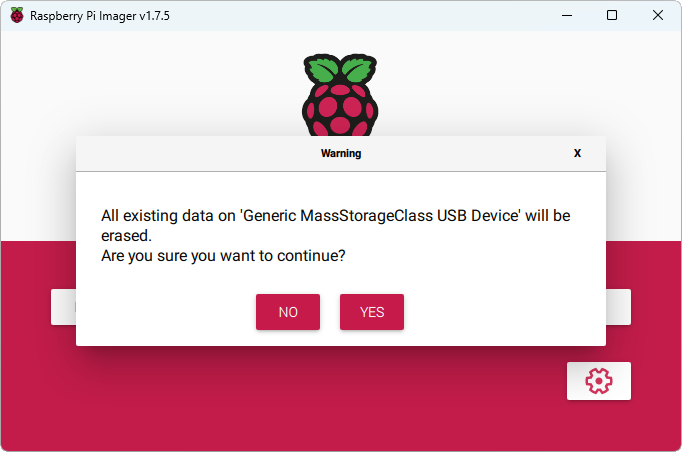
7. Insert the SD card into the slot of your PC and select it. Confirm the warning with 'YES'.
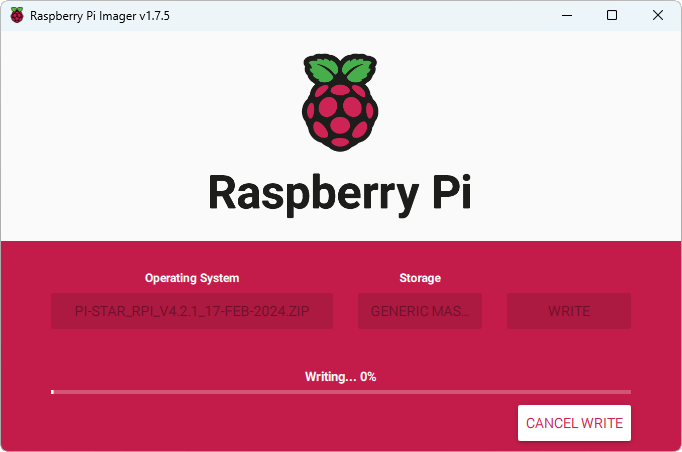
8. If the image and SD card are selected, the image is written to the SD card by clicking on 'Write'.
9. Once the image has been written to the SD card, you can insert it into the Raspberry Pi (don't forget to put the MMDVM hat on the Raspberry Pi first).
Provide the Raspberry Pi with a sufficient power supply, the power supply should have at least 5.1 volts and 3.0 amps. Once the Raspberry Pi has booted
up, connect it to your home WiFi network.
How to set up a Pi-Star hotspot
1. Prepare the microSD card: Download the official image and use an image burning software such as Raspberry PI IMAGER (Windows) to write the image to the microSD card.
2. Install the radio module (MMDVM): Connect the radio module to the Raspberry Pi using the corresponding GPIO pins. Be sure to follow the instructions specific to your radio module.
3. Connect the antenna: Connect the antenna to the radio module.
4. Assemble the Raspberry Pi: Place the Raspberry Pi in the case, making sure to attach it properly.
5. Insert the microSD card: Insert the prepared microSD card into the Raspberry Pi's card reader.
6. Connect the LCD display (optional): If you are using an LCD display, connect it to the Raspberry Pi according to the specific instructions on the display.
7. Power the hotspot: Connect the Raspberry Pi to a suitable power source to turn it on. ATTENTION, it is recommended to use a special power supply with at least 2.5 - 3.0 amps.
Once the hotspot is powered, you'll need to configure Pi-Star via a web interface. Using another device on the same local network, log into the Pi-Star web interface, then follow
the instructions to configure network settings, radio frequencies, DMR IDs, and more.
It's important to note that this guide is a general overview of the process of assembling a Pi-Star hotspot. The specific steps may vary depending on the
Raspberry Pi model, radio module, and other components you're using. Be sure to read the instructions that came with your specific components for detailed
information on assembling and configuring them.
Setup Pi-Star for SDR-MKK
Login into your Pi-Star over SSH and follow the commands bellow:
rpi-rw
sudo rm /usr/local/sbin/HostFilesUpdate.sh
sudo wget http://sdr-mkk.de/data/HostFilesUpdate.sh -P /usr/local/sbin/
sudo chmod +x /usr/local/sbin/HostFilesUpdate.sh
sudo bash /usr/local/sbin/HostFilesUpdate.sh
sudo reboot
 English
 Chinese
 German